Help Desk: How to install Kontakt instruments like DC-Zero
This short article shows, how to install Kontakt instruments, including how to place presets in Kontakt`s snapshot format in the right place and access them.
The installation consists of 2 quite simple steps. In the first step, copying the core instrument, and in the second step, placing the presets in the correct user content directory.
STEP 1 – INSTALLATION OF THE INSTRUMENT FILES
The instrument files can be found in the “Instrument (NKI)” folder – copy the “CFA-Sound DC-Zero Vintage Synth” folder to any folder on your hard drive. For example your preferred directory for your Kontakt instruments in general.
STEP 2 – INSTALLATION OF THE PRESETS (SNAPSHOTS)
Now you need to copy the presets (Snapshot format of Kontakt) to the specific user content folder of Kontakt, so Kontakt can load and use the snapshots with the instrument.
In “Presets (Snapshots)” you can find the folder “CFA-Sound DC-Zero” – which contains all presets – and needs to be copied to the user content folder under the following file path:
macOS: Macintosh HD > Users > *Your User Name* > Documents > Native Instruments > User Content > Kontakt > place “CFA-Sound DC-Zero” folder here
Windows: C: > Users > *Your User Name* > Documents > Native Instruments > User Content > Kontakt > place “CFA-Sound DC-Zero” folder here
After that, you can load the „CFA-Sound DC-Zero.nki“ instrument file in Kontakt via the internal file browser of Kontakt, or by drag & drop the nki file into the UI.
How to access the presets (in case you`re not familiar with the use of Snapshots within Kontakt), it`s explained below, as well.
ALTERNATIVE WAY FOR STEP 2:
There is also an additional way, to locate your user content folder for placing snapshot files. Open Kontakt, and load the CFA-Sound – DC-Zero.nki instrument file.
Then, click on the tool icon to switch to the editing view.
Now click on „Instrument Options“ and a popup will appear.
The „Snapshot“ tab on the left, select this, and now click on „Show“ – by that, your Kontakt user content folder will come up. This is the place, for Snapshots (Presets) of Kontakt Instruments.
HOW TO LOAD AND ACCESS THE PRESETS
To switch to the presets view, click on the photo camera icon.
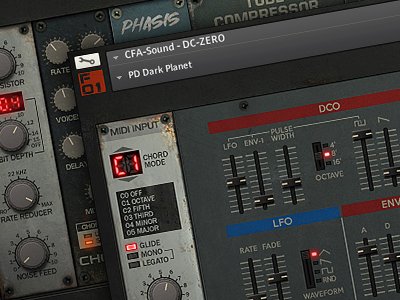
This changes the header to the snapshot view. Click on the preset (by default the preset “BA 80s Funk” will be visible and loaded there) and you will find all presets, sorted into sub-folders via a dropdown list.
Of course, you can also save your own presets. All you have to do is click on the disk icon on the right.
In most cases our products (e.g. soundsets and presets packs) contain a detailed installation guide, if the presets based on the synthesizer, need to be placed in specific folders and of course, which version of the specific synthesizer is required to use the soundset files. Otherwise, the developer`s manual of the synthesizer always shows how it`s own preset handling works and can be used.
If you have any questions left or additional help and support needed, feel free to contact us via our contact form or via our support forum on KVR.
We use technologies like cookies to store and/or access device information. We do this to improve browsing experience and to show personalized ads. Consenting to these technologies will allow us to process data such as browsing behavior or unique IDs on this site. Not consenting or withdrawing consent, may adversely affect certain features and functions.
Functional
Always active
The technical storage or access is strictly necessary for the legitimate purpose of enabling the use of a specific service explicitly requested by the subscriber or user, or for the sole purpose of carrying out the transmission of a communication over an electronic communications network.
Preferences
The technical storage or access is necessary for the legitimate purpose of storing preferences that are not requested by the subscriber or user.
Statistics
The technical storage or access that is used exclusively for statistical purposes.The technical storage or access that is used exclusively for anonymous statistical purposes. Without a subpoena, voluntary compliance on the part of your Internet Service Provider, or additional records from a third party, information stored or retrieved for this purpose alone cannot usually be used to identify you.
Marketing
The technical storage or access is required to create user profiles to send advertising, or to track the user on a website or across several websites for similar marketing purposes.